Replacing Individual Roof Tiles – A Simple Repair That Makes a Big Difference

Replacing Individual Roof Tiles – A Simple Repair That Makes a Big Difference
A roof is your home’s first line of defense against rain, wind, and snow—year after year. But even the best roof can suffer damage over time. A single cracked or missing tile might seem minor, yet it can quickly lead to leaks, rot, and costly repairs if not addressed promptly. Fortunately, replacing individual roof tiles is a relatively simple task that many homeowners can handle themselves with a bit of preparation and care.
Why It’s Important to Act Quickly
A damaged tile can allow water to seep beneath the roof surface, leading to moisture in the underlayment, rotted decking, or even mold in the attic. That’s why it’s important to act as soon as you notice a problem—especially after heavy storms, high winds, or freezing weather, when tiles are most likely to shift or crack.
Inspecting your roof regularly—at least once a year—can save you from major headaches later. Look for discoloration, uneven rows of tiles, or moss and algae growth that might be hiding damage.
How to Locate the Damaged Tile
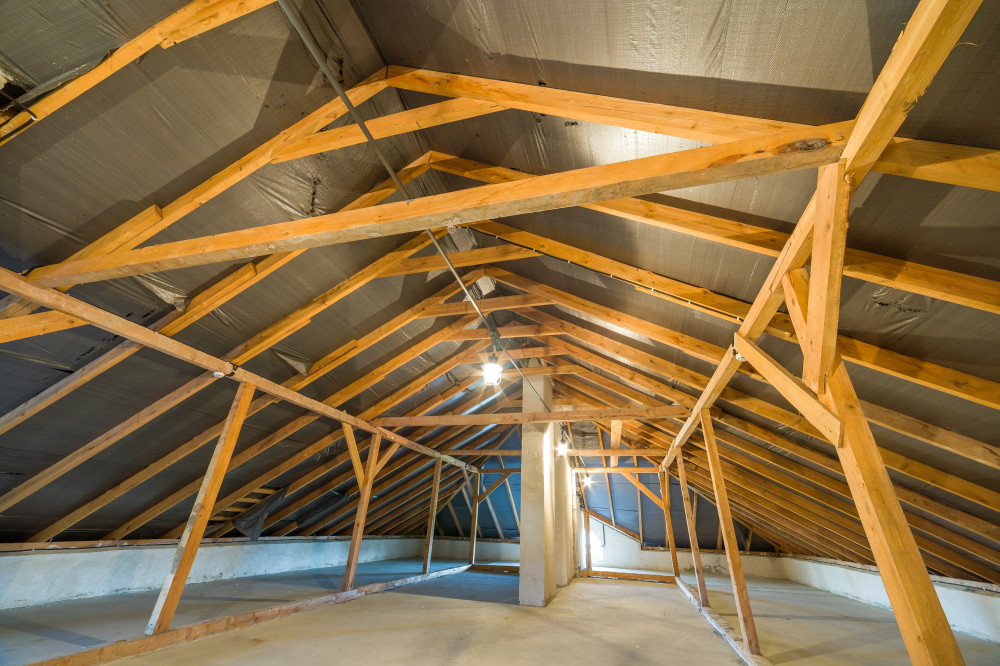
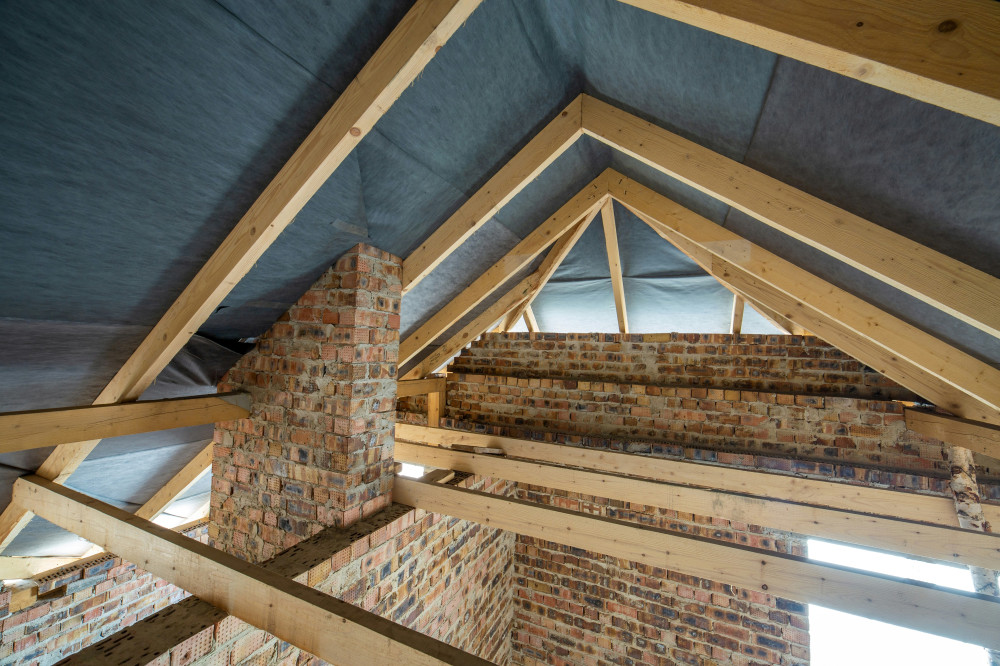
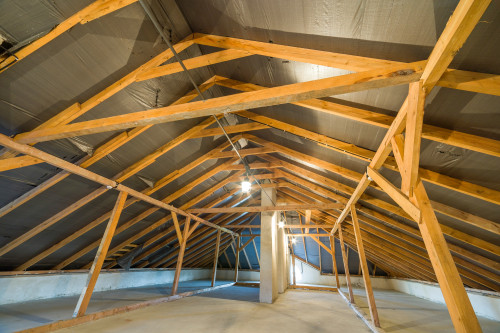
Start with a visual inspection from the ground. Use binoculars if your roof is steep or high, and look for any irregularities in the pattern. If you can access your attic, check from the inside as well—daylight shining through is a clear sign of a leak.
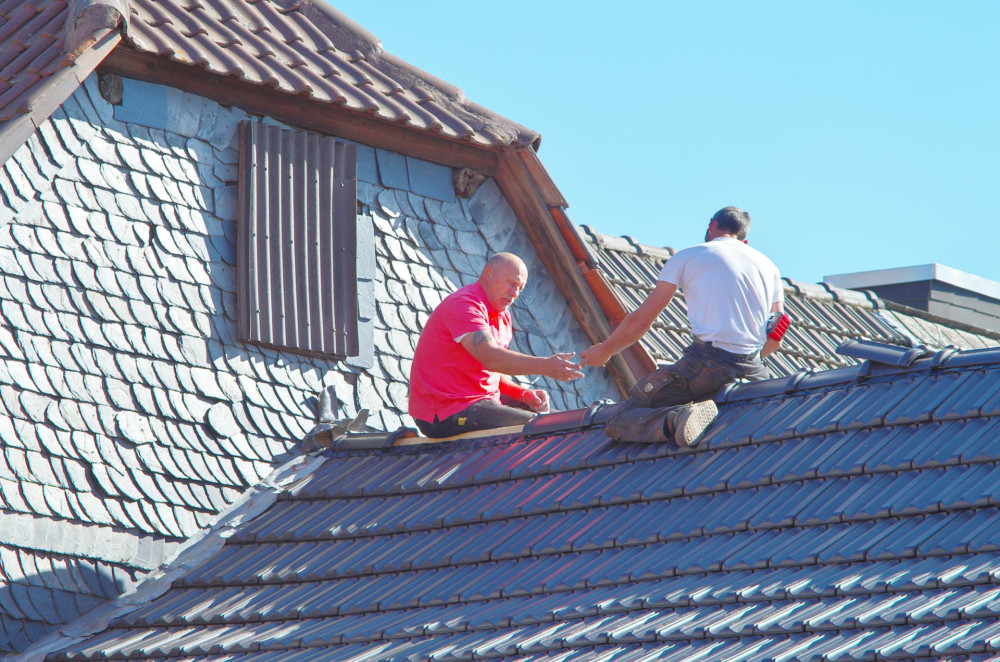
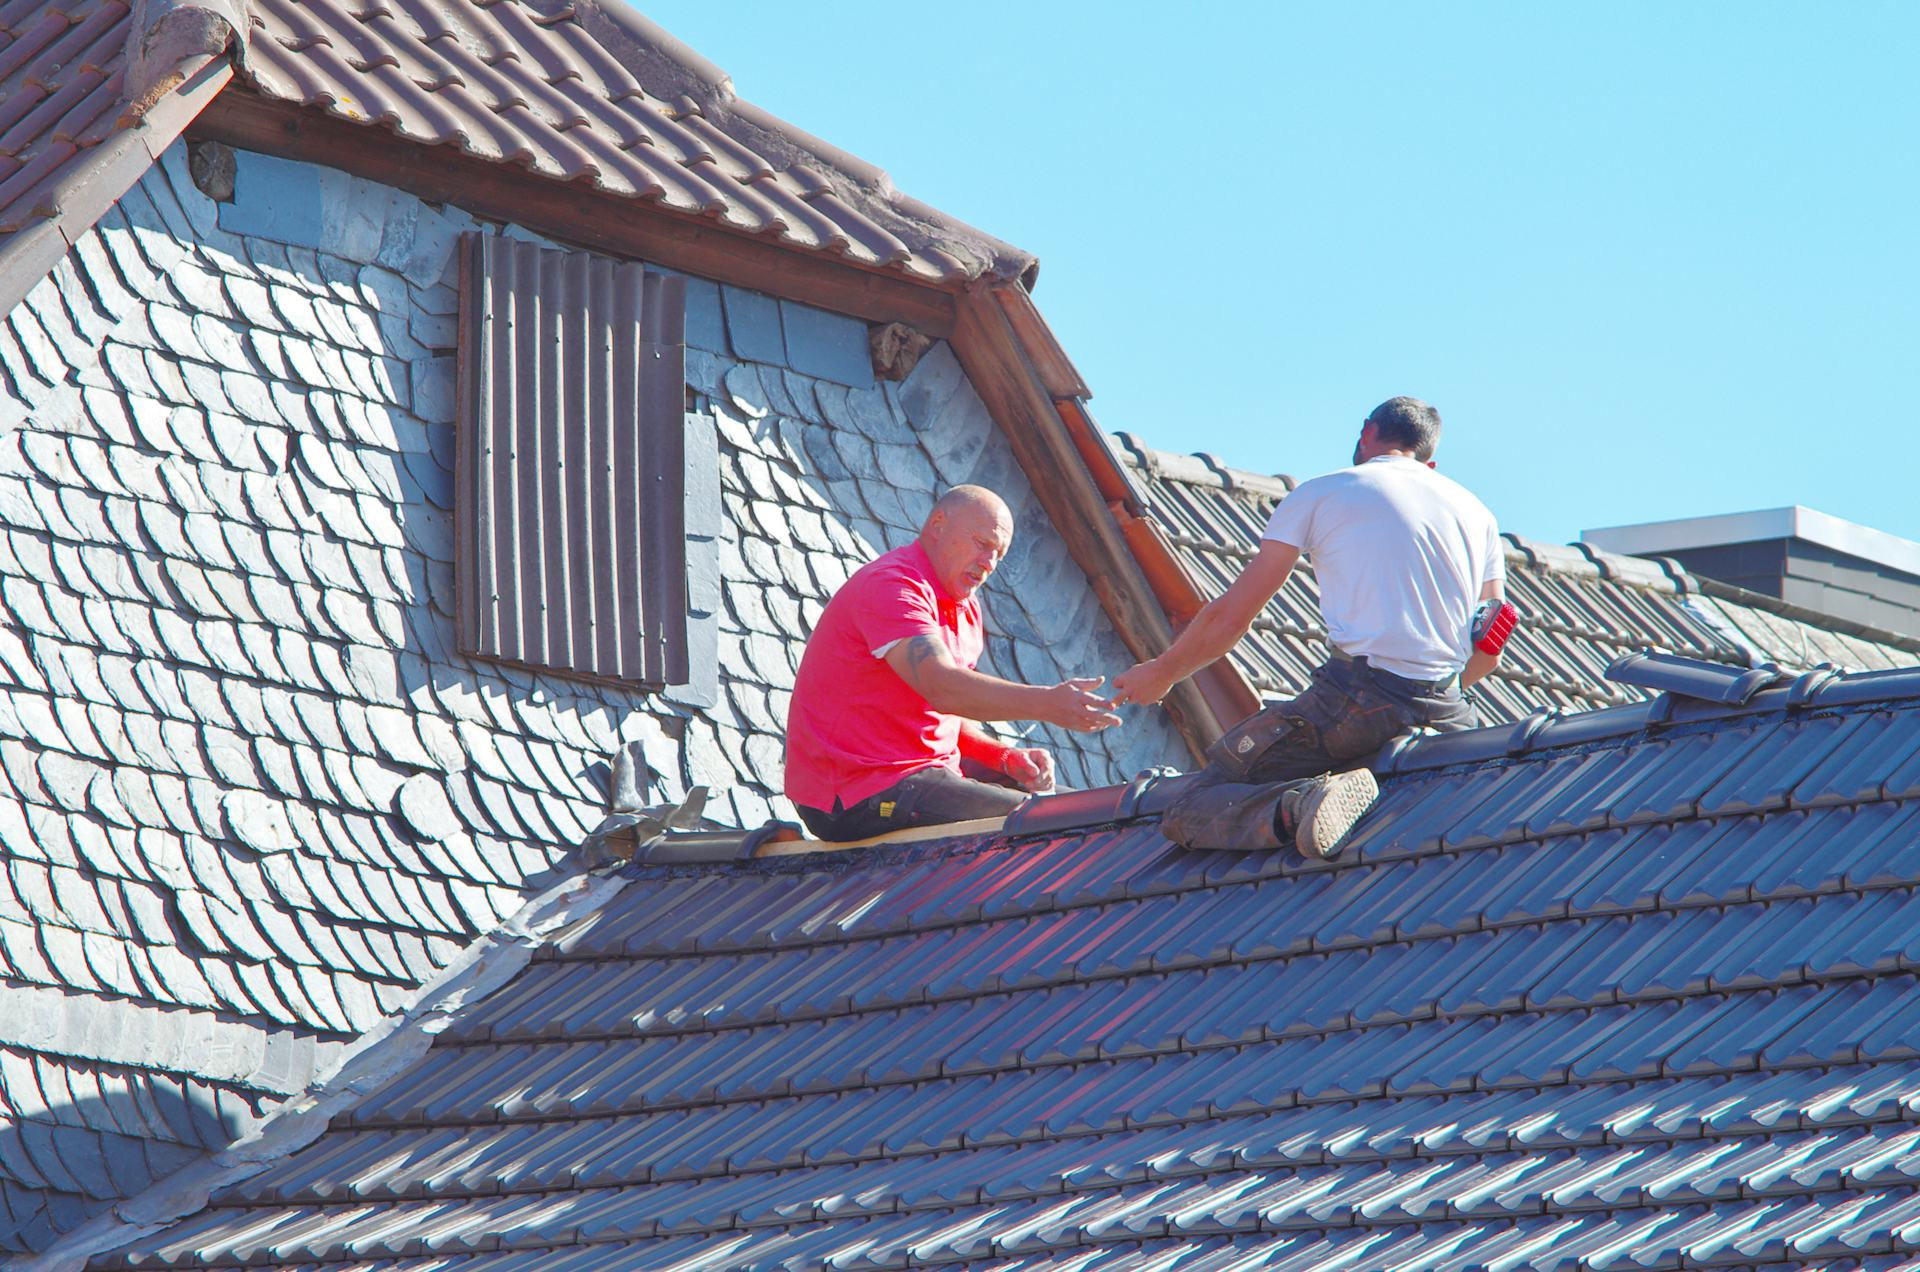
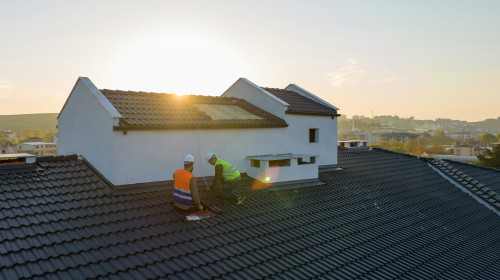
Once you’ve identified the problem area, decide whether it’s a job you can safely handle yourself. If the roof is very steep, or if multiple tiles are damaged, it’s best to call a professional roofer.
What You’ll Need
Replacing a single roof tile requires only a few basic tools:
- A sturdy ladder and possibly a roof ladder for safe access
- Work gloves and non-slip shoes—tiles can be sharp and slippery
- A hammer or flat pry bar to loosen the damaged tile
- A replacement tile of the same type and size
- Roof clips or nails, if your roof design requires them
Make sure the new tile matches the existing ones exactly. Bring a sample to your local home improvement store if you’re unsure.
Step-by-Step: How to Replace a Roof Tile
- Put safety first. Never work on the roof in wet, windy, or icy conditions. Use a stable ladder and have someone nearby who knows you’re working up there.
- Gently lift the surrounding tiles. Use a pry bar to raise the tiles just enough to access the damaged one.
- Remove the broken tile. Slide it upward until it clears the batten or fastener. Be careful not to crack the neighboring tiles.
- Install the new tile. Slide it into place so it overlaps correctly with the surrounding tiles and sits flush with the roof surface.
- Secure the tile. If your roof is exposed to strong winds, use a clip or nail to hold the tile firmly in place.
- Check your work. Make sure all overlaps are tight and there are no visible gaps or misaligned tiles.
Maintenance and Prevention
Your roof will last longer if you take care of it. Keep it free of leaves, branches, and moss that can trap moisture, and clean your gutters regularly so water drains properly. After strong winds or heavy snow, check for shifted or missing tiles.
If you live in an area prone to high winds or hurricanes, consider having extra roof clips installed. They help prevent tiles from lifting or sliding out of place over time.
Læs også:
When to Call a Professional
While replacing a single tile is manageable for many homeowners, there are times when professional help is the safer choice. Call a roofer if:
- The damage covers a larger area
- The roof is steep or difficult to access
- You suspect water damage beneath the surface
A qualified roofer can quickly assess the situation and ensure the repair is done correctly—helping extend the life of your roof.
A Small Fix with a Big Impact
Replacing a single roof tile rarely takes more than half an hour, but the benefits are significant. You’ll protect your home from water damage, maintain your roof’s appearance, and avoid expensive repairs down the road. It’s a perfect example of how small maintenance tasks can make a big difference in your home’s comfort, safety, and value.
Læs også: